"What's the story with the two sewing machines in the Dutch Barn?"my beloved asked this morning, "Are they trash?"
"Nooooooo..." I said just as the canines and I were heading up the hill.
"Oh, so now you are storing machines in there, too."
"Well, actually," I lied, "I was hoping that you would help me put that up on a couple of saw horses when I get back from the walk so that I could wire brush it and paint it." Referring to the 114 year old treadle base I bought last Saturday for 10 bucks. It came with a machine and a cabinet.
So now I was committed. DARN. I wanted to SEW today...


Steven, helpful man that he is, offered his drill and some wire brushes. I was hoping he might take over....false hope...
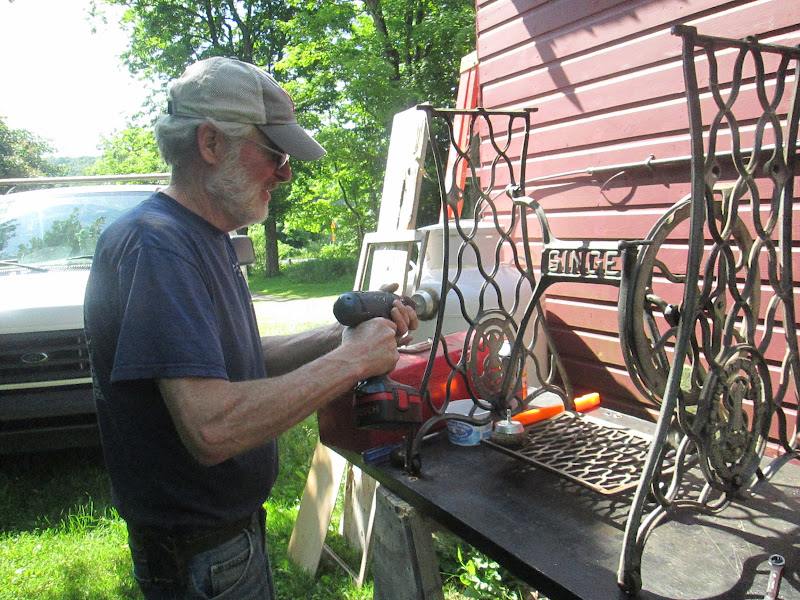

I was afraid to bang on the pin holding the wooden (imagine MY surprise, wooden parts on treadle irons) pitman rod in place. So I didn't. But I think that I will later when I work on this project some more

I did salvage the drawers and their casements. But just in case I keep the top, I replaced those sheet rock screws with the some wooden screws of the correct length. Morons.
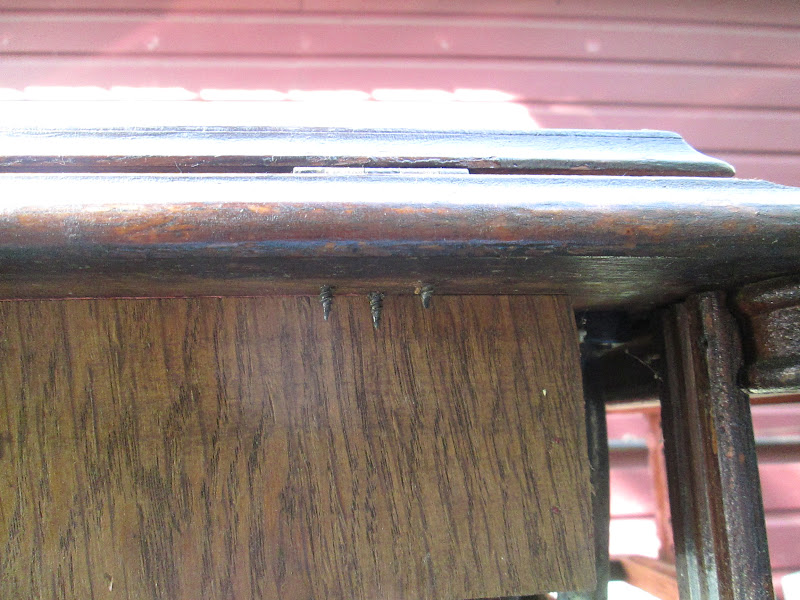

I could sand it and stain it and it would look ok. But the plywood is delaminating on the right side and there is dirt and debris embedded in there. That is a decision best left to another day....
Not photos of after, but during...

Love the pictures. As it happens, I'm working on a 127 Sphinx with what I call minimal needs, and a red head with the drawers CUT OFF and the rest of the cabinet and the irons PAINTED WHITE. However, I believe both will sew well and that's my main aim.
ReplyDeleteThe wood pitman is interesting - now I'm thinking such a thing could be duplicated for a set of irons lacking the pitman.
Can't wait to see your results.
Lillian
Actually, go to Treadle On and there are instructions on just how to make a replacement pitman rod.
Deletehere's one I did recently:
ReplyDeletehttp://nurseknits.wordpress.com/2012/05/26/before-and-after-treadle-table-3/
I did not paint. I just wire brushed and used rust converter, followed by black shoe polish, which is the clesest thing I can find to stove polish out here. Thank goodness you took this one in! My wooden pitman is stained the same color as the top. I have frequently just removed the veneer on dreadful tables and stained the under layment- a few entries earlier than the one I linked to you can see this approach on my Singer 31. Love your blog! can't wait to check out your other blog!
Nice Job!!!! I am toying with a bright color for this one.....but then black would require only one coat and I have sooo much to do.
DeleteI love old sewing machines too! I am actually trying to build a franken-machine out of 1915 Montgomery Wards treadle legs and a 1950's Brother zig-zag sewing machine. Trouble is, the pitman rod on the treadle houses a bearing ring at each end and one of those bearing cases is missing. I measured the gap between bore and outer diameter and it would fit 1/8" bearings. I can't seem to find any bearing ring that would fit this space online anywhere. I just wrapped the bore with a thick piece of leather, but there is just more give than I would like. Any suggestions?
ReplyDeleteNot from me. Readers?
DeleteOh I just had to rant about the imbalesillyette who put those screws in the hinges! UGH! :(
ReplyDelete