Since I can't work on machines and since I can hardly sew (it still hurts to do too much with my left thumb) I have decided this would be a good time to organize my photos.
I have taken many, many, many photos since I started this hobby in September 2010. They are mostly stored chronologically on the Apple. It is a slow process, organizing. I don't have that gene so it is harder for me. I get distracted easily.
In the process of organizing I found some photos of machines rather forgotten. This one, in particular, reminds me of where I was when I first started this insanity.
I bought this machine in Eastern New York State in September 2010. Steven and his son, along with our neighbor and his son rode their bicycles to Vermont.
Sonja and I were on our way to fetch them a week later. (we didn't want to make them ride home, too. 260 miles is a long way)
It was a really nice day in September and we stopped at some yard sales in Saratoga Springs (We were disappointed. We thought rich people in Saratoga would have good stuff....not so. I mean who is going to buy a pair of beat up old, size 12 Dansko clogs that need new soles?)
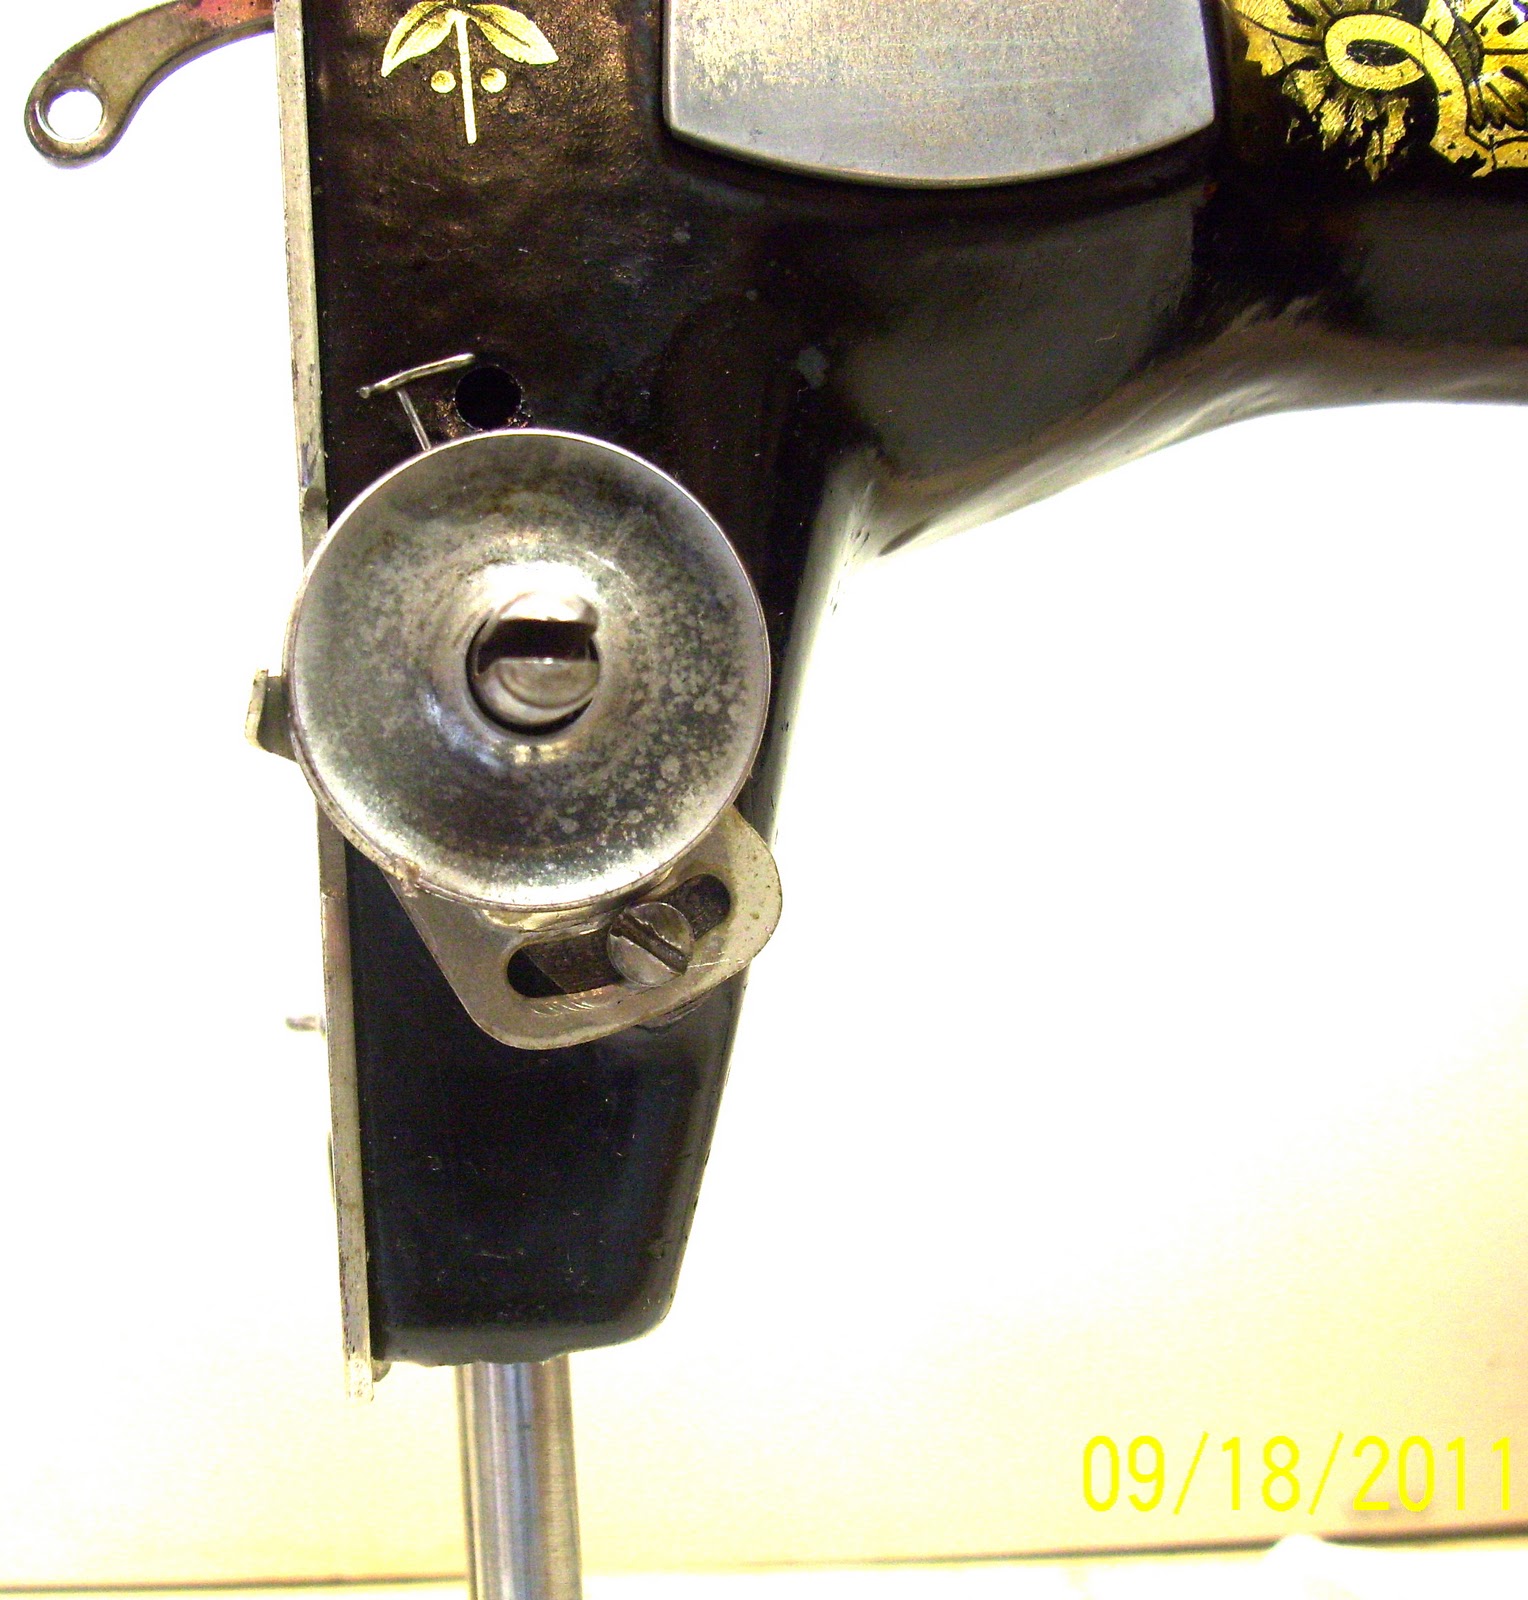
I had lined up a sewing machine to look at on Craigs List and we had picked it up just south of Saratoga. When I bought it, it was complete. This photo is one I took after I had taken much of it apart trying to rescue it. I know better now.
Sonja was gracious and kind. She drove (we had to transport three men and three bicycles back from Vermont. Her Highlander was bigger than anything Steven and I owned at the time). We stopped along the route at several yard sales. We saw no sewing machines. Finally we had decided that we were just going to head north when we passed a sale. Sonja turned around.
I saw the Riccar. It was 20 bucks. I was looking it over and trying to figure it out. "After you bought that last machine, are you really going to haggle over 20 bucks?" Honest, I was not going to haggle. But I certainly had understandable buyer's remorse over that 128. I was tryig to decide if I should buy it or not.
Of course, we know the ending. I bought it and I am glad that I did. It is a good strong end loader ZZ machine. It is sturdy and will sew through pretty thick stuff. Looking at the photo of it now, I wonder if it could be treadled. I guess, when my thumb is better, I could check that out. The sucker weighs about 35 pounds, maybe 40. No way can I try lifting it now. I wonder.......maybe Steven could help?...
A blog devoted to my vintage sewing machines and how I find them, fetch them and fix them.
Showing posts with label Singer 128. Show all posts
Sunday, November 4, 2012
Wednesday, October 19, 2011
How could I say no?
Today I drove west 150 miles to fetch my Wheeler and Wilson Number 8. When I arrived at my destination, there were five additional machines to greet me, along, of course, with the most wonderful couple in the Finger Lakes. We laughed about my first visit. I was so excited looking at all of their wonderful antiques and vintage sewing stuff. There was a gorgeous spool cabinet and I opened it right up, just like I was family... OOPS......it contained some valuables. Oh we had a laugh about my gall.
Last June when I first met them, I had the grand tour of all the machines. I went after a Howe and came home with several additional machines. I think my haul was five machines then. This time I came home with six. We were all amazed that I fit the W & W 8 with its treadle base, a Singer 15-91 and its cabinet, a Singer 99-13 and its cabinet, an Elna Super matic, a Domestic, and a darling Singer 128 complete with a gorgeous excellent condition carrying case in the Jetta sport wagon. Where there is a will there is a way.
1935 Singer 15-91 |
1925 Singer 128 |
1930 Singer 99-13 |
Foot pedal for 99-13. Right, my size ten is going to fit that!!!! |
Domestic Rotary |
The Elna Supermatic |
Tuesday, September 20, 2011
Singer 128 Tension assembly
This piece is the equivalent of the set screw on the 66, I believe.
Check spring I n this photo you can see that the check spring is sitting under the thread guide. You want the check spring to be positioned between the two indentations on the opening in the machine
More like this.
So Carol asked how I did it. I fiddled with it. Honestly. We are not building pianos here.
I could not exactly remember so today (1/31/12) I got the machine out and took it apart again and figured out what I did.
I took the stud and the check spring out and looked at them. I noticed that the check spring has a smaller loop at its proximal end (the end that is nearest the body of the machine) That small loop needs to sit on the proximal end of the stud so that when the stud is tightened the spring is held fast and able to bounce in between the two indentations as seen above.
I put the check spring on the stud and the put the stud in the hole and tightened the stud while holding the check spring. I actually found that it was easiest to do as the FIRST step in reassembling the tension assembly
Inevitably as I tightened the stud, the check spring would tighten in the same direction and end up wrong wrong wrong. So I fiddled. I loosened the stud and pulled on the check spring very gently:
I had to do this several times until I got the check spring aligned with the lower indentation. Once all the way tight, the spring had consistent bounce and integrity. Then I tucked the thread guide behind the check spring and screwed it on.
The next photos are from the original post. I can't change them at this point.
The tension discs are placed so that the convex sides face each other. I tried to get a good shot of them.......Not in focus, I apologize.
Tension discs in place. They are clean, just stained. (Sort of like my fingernails)
Next comes the tension spring.
And finally the thumb nut. In this photo I am demonstrating how the tension release works.
Here you can see how the check spring should be positioned at about nine thirty. It must be correct because the stitches are just so nice. I just fiddled with it (see above) and the stud until it looked like the tension assembly on my 27.
This post has been updated from the original on January 31, 2012 thanks to a question from Carol from vintagesingers yahoo group. I appreciate her question because it makes this post much more complete. I also had a chance to fool around, some more, with Adobe Photoshop Elements 10. Software that came with no manual. Jeez.
Sunday, September 18, 2011
Next Project: Singer 128
|
I never can remember the difference between the 27 and 28 and the 127 and 128. There is a great website to help us identify our older model Singer: www.sandman-collectibles.com/id-singer-machines.htm This, as it turns out, is a 128. The 127 is the full size version of this 3/4 size machine. The difference between the 27/28 and the 127/128 is the position of the bobbin winder. The 27/28 has the bobbin winder low, near the bed of the machine. The 127/128 has the bobbin winder high, as in this example. I have a Fiddle Bed with these same decals, further emphasizing that decals do not denote anything but decoration.
I used Dr.Bronner's almond oil castile soap for this clean up. Then I rinsed with sewing machine oil and rubbed gently but for a very long time. I hate to put the bobbin winder back on. This is the prettiest part of the machine. I'll bet the bobbin winder protected it.
If I could mount the bobbin winder low, I would. I don't think that I can.
I spent hours, and a whole can of WD 40, trying to free her up. Now I know not to use WD 40, it is not a lubricant, rather, a water displacement product. Still, I am lucky to have her because she had the shuttle and bobbin. So, this is my first true parts machine. I don't know why she won't move all the way around, but she donated her hook, shuttle and bobbin to the other 10 dollar 128 and now I have a complete machine that makes the nicest stitches. I like these stitches better than my 28 hand crank.
I still have some motor work to do on this machine and I do not want to put that light back on it. I think it looks awful. I could keep it as a hand crank, the repro hand cranks are functional but ugly. Still, I think it is a cute machine.
Subscribe to:
Posts (Atom)