It is perfect for scraps and I love to use up scraps.
The instructions advise cutting strips 1 3/4 inches wide. I cut many. The quilt is foundation paper pieced and I didn't realize that until I read further. I trekked off to Office Max and invested 11 cents a copy ( X120). I didn't check the copies against the original though that was recommended in the pattern instructions.
I made the first block and found that it was a bit shy on the edges. The finished block measures 6 1/2 inches mine was off by a good bit, but enough to be absorbed in the seam allowance.
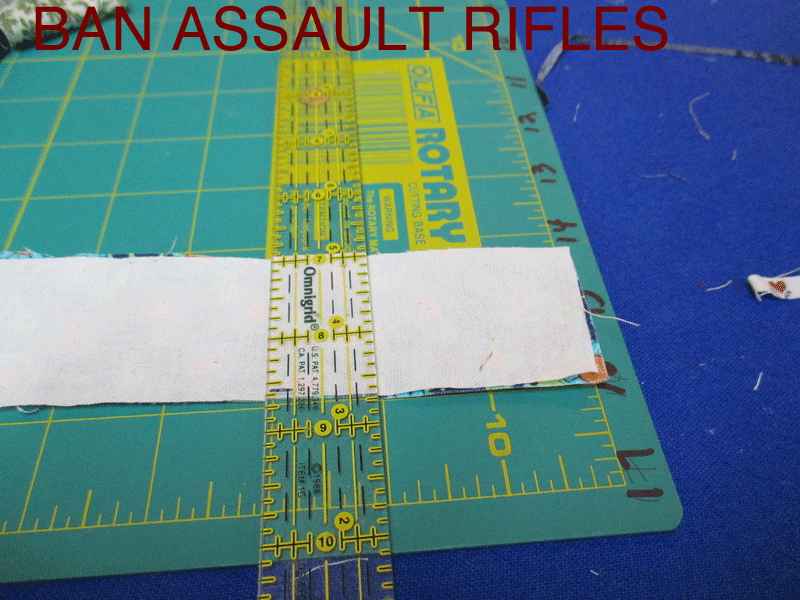
I found a ruler that was marked with a 3/16 line and decided to use that. I told Betsy I had started on the quilt, that I was using up my scraps and that she could use up hers on this too, but I knew that she wouldn't Too Many Steps. Betsy hates that.
The first step is to copy the pattern. I think paper piecing, if the pattern is the correct size, provides a more accurate block in the end. Alternatively, cutting the strips larger would work.
I did trim the pattern to a 7 inch square. I tried using the full 8.5 X 11 but it was too cumbersome.
The next step is to cut two small squares, I made mine 1 3/4 by 2, which isn't really square but allows for adequate seam allowance when trimming. One square is dark and the other is light. I pressed mine right sides together.
I made a funky light box from a sewing machine base and a sewing machine light I had kicking around in the shop. Place the pattern FACE DOWN on the light box and glue (elmer's glue stick works fine and is washable) the WRONG side of the dark square to the #1 block on the pattern. I pressed this after I had it positioned to set the glue.
Flip the pattern over and stitch along the line between 1 and 2. The directions recommend that you sew a few stitches beyond the line but I stopped right on the line for block 3 and back stitched.
Then I folded along the stitched line and trimmed the seam.
Using a piece of cardboard, I folded along seam 3 and trimmed that seam if needed.
Next I pressed the pieces open
Then I selected a dark color for #3 and trimmed it so it was just longer than 1 and 2
Pressed it in place (no glue needed)
and stitched. along line 3.
This process was repeated for the remaining strips. Nine in all.
I trimmed the blocks and started to position them according to the picture. I had a terrible time. I had to use the camera to actually seem the pattern. I thought I had it here
but when I looked through the camera realized I was off
So far this is what I have:


Two friends of mine, twins, are ace paper piecers taught more than once by Judy Niemeyer. There are some tricks that can help. One is to use a glue stick, the other an add a quarter ruler, and a template mylar ruler. Pre fold all the lines. All that said, my Sea Urchin is still incomplete as it is time consuming. Her patterns give a cutting template for the pieces. They have helped me. I could help you.
ReplyDeleteThe pieces were too narrowly cut for add a quarter ruler. When I copied the pattern, it enlarged just that much, hence the 3/16 inch seam. I used the glue stick once. I didn't find that I needed it after pieces 1 and 2. I can see that a template ruler would help but the card board works and it's free. I fold as I go.
DeleteBy chance, what magazine and date? I think I have this somewhere and would love to make!
ReplyDeleteQuiltworks: Issue #47. January 13, 1997
DeleteI found it! You rock! Merry Christmas (to me, too),
Delete