Wednesday, June 24, 2015

Over and Over again.

 I have a quilt READY for the frame.  I just don't know how I am going to quilt it.   It has a fair amount of negative space.  Originally I designed the quilt around a couple of stenciled squares.  I am just very bad at tracing.  I ripped out those squares and replaced them with  15 inch muslin squares.  They are on point in the quilt which means there is that much more negative space.

I thought that I could divide the square up into quadrants and quilt a feather in each one.  I got out the white board and practiced over and over again.

 I have so much flippin' trouble with the bottom of each feather.  I don't like the look.  Then I realized that the Nolting doesn't have enough of a reach to quilt a 15 inch block on point.

I decided to stitch a three inch border on each block.  Oh boy, ruler work practice!

I tried a variation on a scrap moving the bottom to the outside edge so they all wouldn't meet in the middle.  Not happy.  But it was fun playing.  I totally messed up the fourth one and just decided to work the machine over the pattern and played with some inside echoing.  I had fun.  Looks like hell, but I had fun.
So then I decided to just fill the whole middle with the large, flamboyant feather.  I finally was able to consistently draw one I like:

It just didn't come out the same when I quilted it.  I am having trouble at the top now, but the bottom is looking better. 
  Lisa had come by to get some parts for her 128 VS and after we finished in the shop, I showed off the Nolting.  I made her try it out.  She has a good eye/hand coordination.  It took me months to be able to stipple the way she does. ( her example is in the border)

I am actually not unhappy with this feather but I would like the feathers to be less bulky.  It is easy to draw them thinner, but the machine just wants to go

I set up some more practice pieces ( an old sheet and a very thin, flannel blanket.  Oh did THAT affect the tension. Yes it did ) and came up with this:
I am still having issues with the top.  If it's not the top, it's the bottom.  I can fix the top problem, though.  I must start lower and make the last feather above where I start before I come back down to begin the next side.  I tried to make a paisley but it just didn't work out.

Lisa had suggested that I continue the cross hatching in the borders.  That's more ruler work.  I don't have a long ruler so I experimented with curved lines.  I like them a lot.  I will merely draw a line on the fabric and not bother to stitch it when I actually create this design on the quilt.

There are only two large squares in the quilt.  There are some setting triangles.  So figuring out that design is next.  Oh, yeah, and how to do the blocks themselves.  Probably ruler work


Wednesday, June 17, 2015

FOWL PLAY

For years I have wanted to quilt feathers on my quilts.  I have tried, but I never quite got the right shape.  I bought a Doodle Quilting Book and practiced Victorian Feathers on the white board.

Over and over and over and over and over and over.  Some looked good.  Some looked like crap.

Since I had some nice blank space in the middle of the practice quilt, I decided to just go for it.

As you can see, I improved with each one.   The final feather I did not sketch out first.

feathers 1-4 starting at the top left and moving clockwise around
I tried to add some additional design along the edges but failed miserably

feather 1

After I had completed feathers 3 and 4 I went back and tried to fix feather 2.  I would not say I fixed it.  
feather 2
But I did have some fun trying out the pebbles again. 

feather 3
I decided against filling in the "stem."  I could always use the practice but wasn't in the mood for more pebbles.

feather 4
I do find the first one or two "feathers" off of the stem challenging.  

feather-5
I do think that sketching first helps

feather -6
Actually I am pleased with the results.  I guess all that time with the odor free, dry erase pens and the white board helped.  Thank goodness the pens were odor free.  I have smelled the original dry erase pens.  They aren't as bad as acetone, but close.

No photos of the ruler work.  It is hard to see anything on that print.  I reckon that the next practice quilt will have to be solid.  I am not going to piece one, though.  Not for practice.  


Sunday, June 14, 2015

RULERS

Linda sent me a Craftsy class last winter.  I did make the practice quilt for the class and had intended to quilt it on one of my domestic machines.  If you recall, I was without a Long Arm for many months.

I never did.  I don't like pushing a quilt (even though it was not very big, at all) around under the needle.  On Friday I put it on the frame.
I thought that I would just play around with some FMQ.  The class is called Dot to Dot and Angela Walters teaches you how to quilt from one point to another to make lovely geometric designs. She demonstrates on a sit down machine and mentioned that ,when doing these designs on the long arm, she uses a ruler.

I bought a few rulers even before the Nolting was delivered.  I knew I would need them eventually.

I put the ruler base on the machine

and checked out my ruler supply.  I thought that I had a longer one but the only one with a continuous straight edge was the small one from HandiQuilter.

 I figured that I may as well just try making a diagonal line with the small ruler.  One would be enough.

So I did . 

I am hooked.

I played around for several hours.  I managed to hit the Stitch in the Ditch ruler with the needle.  Now I know what that feels like.  I damaged the ruler a bit but the needle did not break.  I changed it, none the less. 

I use the standard foot that came on the machine.  It worked just fine. 


 My circles need work.  Remember, bum wrist.

 I used the stitch regulator mode for the ruler work.  I don't see how I could do it without that feature.  I prefer constant speed when I am FMQ, actually, but for ruler work it is very nice to have that consistent stitch length no matter how fast or slow the machine moves.

This was the first time I used the SR mode.   At first I thought it wasn't working because nothing happened when I pushed the go button.  A green light came on but there was no action.  Then there was a beep and the green light went off.  I was perplexed.  I got out the manual and looked for information about green lights and beeps. I was wondering if I was going to have to reset the whole machine.  I found nothing specific but  I found the instructions about the stitch regulated mode.  Aha.  I read: "The machine will not stitch until it is moved. "  Duh. and " If the machine is not moved for 4 seconds, it beeps and shuts off."

So, I am on my way with the rulers.  Holding the ruler properly is a bit tricky.  I am better in one direction that in others.  Going backward is difficult.  I had some wonky, wobbles but, for the most part, the lines are straight. 


Wednesday, June 10, 2015

Get Over It

I was forbidden to use any sort of machine that would cause vibration in my wrist until yesterday, June 9th.  Forbidden may be too strong.  What he actually said was:
"I don't want you using any weed whacker or chain saw for the next three weeks.  Any thing that will cause vibratory stimulus.  That is bad for the ulnar nerve."

Yesterday, June 9th, was three weeks.  So, after I had coffee, an orange, rode the Vita Master for 37 (count them) minutes, walked the dogs, cleaned the dog pen and did the morning word Jumble, I decided that I should just AT LEAST TRY the Nolting

It intimidates me.  Or, I am afraid of it.  I had a discussion with myself as I walked the dogs.

""You should try it today."

"I know, but I am afraid."

"Of what? You certainly are not going to roll the thing off of the frame again."

"I know.  I just am afraid of it."

"Oh, for Heaven's Sake,  GET OVER IT."

I had started the scrappy quilt three weeks ago. I cheated, I admit it.  But I really didn't think that the Nolting had  the same vibratory stimulus as a week whacker or a chain saw.  I stopped because my wrist did get sore.  Oh, it got sore today, but two hours of quilting is A LOT. 

I finished it.  It is a practice quilt.  I tried different designs and decided that I need more work on the swirl doodle. 

Organic it is.


Novice quilters must never compare themselves to experts.  OK, so I won't.  That doesn't mean that I won't strive to make my swirls more like Angela Walters.  I bought one of her Craftsy classes.  I have been practicing on the white board.  She teaches how to do a feather using a swirl as the base.  Clearly my swirls need work.

It was fun.  I am glad I got over myself and just dug in.   My wrist needs more wrest, but in time I think I will improve.  Practice helps. 


Saturday, June 6, 2015

BORDER BOREDOM

Borders bore me.  They must be done but I am always amazed at how long it takes to sew them. 

I considered piecing a border for the SWRQ to accent the blocks.  Yesterday I even constructed a sample block to see how it would go.  Sure it would have meade the quilt a lot more interesting.  Maybe.  I considered how I would quilt a pieced border and decided that straight borders would be best.

In order to have a nice drop at the edge of the bed, I wanted to add 12 inches to each side.  Twelve inches is a whole lot of negative space.  Sure I could add interest with quilting.  I am not confident enough to tackle that.

Instead I decided to divide up the twelve inches with a one inch strip of the darker blue.  Sounds simple enough.  Two six in strips with a one inch strip in the middle.  Not so.

In the past I have cut my strips to the correct width and just added them on the each side, trimmed them off and added the border top and bottom.  This time I followed the directions from my One Block wonder book. 

She measures the center of her quilt tops, cuts the border that length and stitches them to fit.  If the edge of the quilt is a bit longer, she eases the border to fit.

That worked well for the first two borders.  I went back to the 201-1D for the long seams.  The machine is so quiet and sews so straight.  The 301 is FAST but the 201 is straighter.  I am thinking that the 301 needs some feed dog adjustment  It certainly needs some motor lube  It is starting to whine, just occasionally.

I had had enough of horsing the quilt around.  It was getting bigger and bigger with each border addition. 

For the last two borders,  I measured the center of the quilt and sewed the two borders to each
other before sewing to the quilt.  That worked great for the sides.  (I did pin this before stitching)
But something happened when I cut the top and bottom border.  I was off by an inch.

Looking back, I see that I measured correctly.  You might not be able to see in this photo, but the measurement is supposedly 42.5 ( the quilt edge starts at 1 inch on the dumb end).  Forty two and one half times two equals eight five.  I made my top and bottom border pieces eighty five. 

I could not make them fit.  An inch is just too much to fudge.  The borders are cut on the straight grain so there is no give. I think, likely, that there was too much room for error by the time the quilt got this big.

 I fixed it by making a square in each corner.

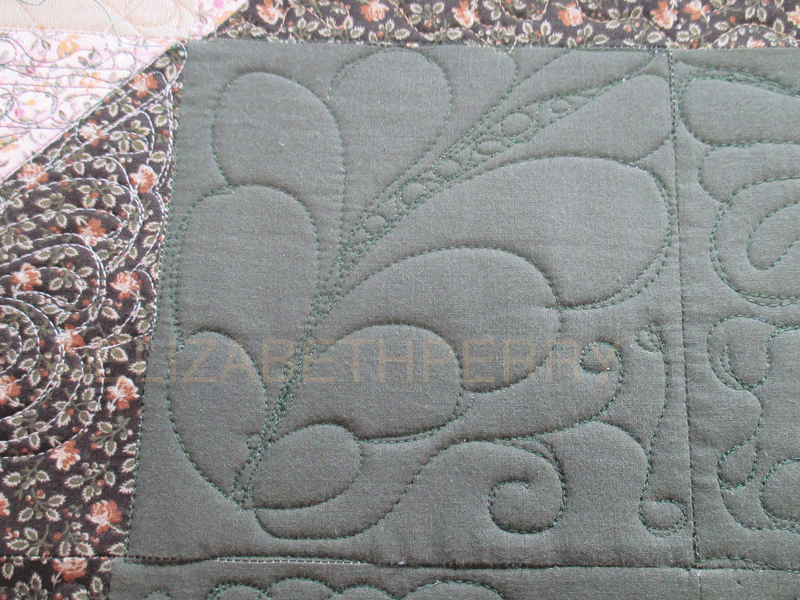
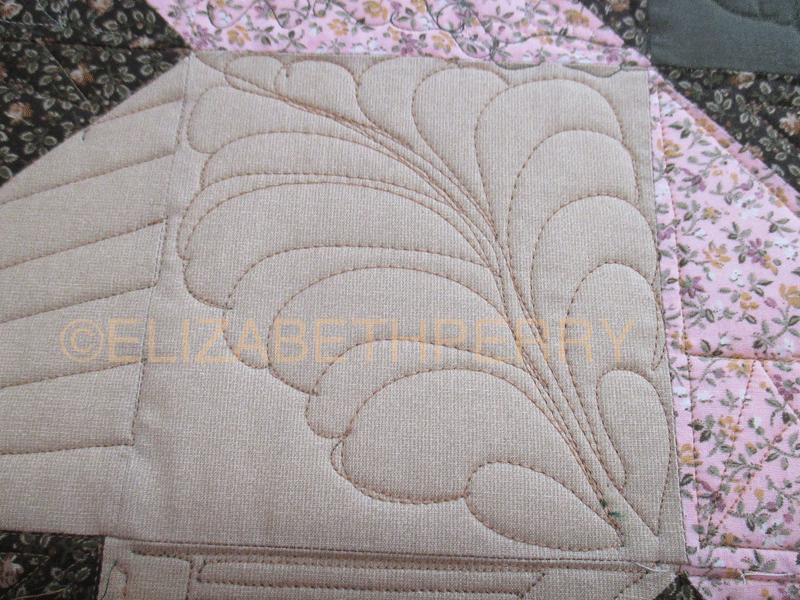
 It took an additional hour but I like the look.  It will look just fine draping at the corner of the bed.  You can't really see it here but you can see the one inch strip.  I think it is less boring that twelve inches of the light green.  I am less intimidated by the narrow strips when I consider the quilting design 
I am pleased to be finished with the quilt top.  I truly would like to piece a bit of the back.  I might try to make a couple of the blocks with the dark blue and the backing fabric.  I won't position them opposite the top blocks.  That would be too much bulk.  But one or two strategically placed on the back might be nice.  Plus I could practice my HST piecing. 

One more thing.  In my quest for the perfect ergonomic cutter, I found the Martelli.   Linda had mentioned it. I bought one.   I rather like it. 
I am able to use it comfortably with my wrist brace.
It doesn't require a special ruler as does the Grace Rotary cutter.

There is a left handed one too.  I think I might just get one of those, too.