Saturday, December 31, 2011

It runs


 I finally have a 201 that runs.  I made the wire ring connectors tonight after supper and tried out the motor.  NICE.  The machine is dirty and I have hours of work to get it stitching.  I can't afford to sell this machine.  I have HOURS invested.  I have three of these machines... I pulled the motor off of the third.  It does not look hopeless.  The brushes are not soaked with oil but the motor was glued to the shaft from dried grease.  The handwheel came right off, though and the textolite gear looks ok.    So I think that this motor can be used on the better of the two remaining machines. 

Happy New Year.

Happy New Year

I went through my photos to find an appropriate picture for today's blog.  My library was filled with photos of sewing machines in various stages of repair.  I found this photo of a lily from my poor, neglected perennial garden.  I was playing with my Canon SLR that day.  I was  trying to learn all about f-stop, shutter speed and exposure.  Finally I gave up and just used the automatic everything button.  Some day.....

I don't regret neglecting the garden. It has been neglected before and it will revive this spring when I get out there and weed it and thin some of the plants.  I don't regret not growing vegetables, either.  I can weed that garden as well and, honestly, all those garter snakes don't bother me nearly as much as the mice in my sewing loft.

I am absolutely happy that I spent the year with vintage sewing machines. I admit that I went crazy buying machines.   Most likely it was an addiction.  It was, most definitely, a diversion from the stress of my life: fracking fears, work, work, work, fracking fears.  The highlight of the year was Ray White's class in Ithaca.  I would take his class again in a heart beat.   I laughed so much and I made some new friends. 

Plans for 2012?  More sewing and sewing machine repair.  Weeding the garden in the spring and growing some vegetables again.  The manure will be perfect this year and I have a seed catalogue waiting for me.  Hopefully Anna and Max will be on the east coast again and I can spend some time with my very amazing son and daughter - in - law.  Steven's older son and family from California are planning a trip out east.  We all can gather in Vermont with the rest of his family and perhaps  the Cortland contingent can go as well. Somehow Mom, Alice and I will get together; here, Chicago or North Carolina.  Family, friends, poodles and sewing machines.   Who could ask for anything more?

Friday, December 30, 2011

practice

I envy Rain and his very cool labels on his photos.  I purchased Adobe Photo shop Elements 10.  It came with no manual.  So I bought Photo shop for Dummies.  You have to have a Master's Degree in computers to read that manual.  So I stumbled through and sort of figured out how to write on a photo with layers.  I also figured out how to re-size the image so that I can upload it to this blog.  When I first tried to edit this photo on Elements it was 47 inches by 43 inches .  I don't know... don't ask.  But I managed and here is the product.  So go ahead and label this BORING.  I am experimenting. 

You know, if I could, I would go into computers.  That's where the money is..........  It certainly is not in vintage sewing machines.......

Wednesday, December 28, 2011

I DID IT !!!!!

Well folks, thanks to Rain at The Vintage Singer Sewing Machine Blog  http://vssmb.blogspot.com I rewired this 201 potted motor.  I would not have been able to do it without his VERY VERY EXCELLENT step by step instructions on his blog.  I was so excited that I did not photograph the process of re-assembling the motor.  I just put the sucker back together.  I did, however, take  photos of the soldering:

Before trimming the wires

Mechanical connection (aka braid) and alligator clip as heat sink

Soldered
Mechanical connection and heat sink white lead

Soldered
 I did put heat shrink on these connections and I found that the hair dryer frightened me.  I was afraid that I might get the whole motor too warm.  So I tried the butane lighter trick.  That was nerve wracking as well but I managed to get the stuff shrunk down and tight.

I also tied my underwriter knot and put the whole thing back together.  See how tidy it looks inside?

I am so proud of this project.  Here is the underwriter knot all highlighted:


Very Nice.  Next, I will put some shrink wrap on these leads to make them one and solder some connecting rings.  I can do that, easy peasy.  I would have done that tonight.......if I hadn't felt guilty about never cooking a meal for the best husband in the world.  So I made some parsnips and tofu for dinner......yum......Hey, the guy likes it, what can I say????

Now I am ready to clean out this 201 and get it stitching.....Wooooooo hoooooo.


How do you get to Carnegie Hall?

PRACTICE. PRACTICE. PRACTICE.  Such was the advice of my guitar teacher when I was a kid.  We all know that I did not practice because I have not been to Carnegie Hall.  I have been practicing soldering.

I used the forsaken motor.  As you can see the wire to one of the brush holders is beginning to fray and the connection is definitely in peril .  I wanted to practice working in this small space and I wanted to see how close I would have to work to the field core.  Pretty close, but it did not get hot.  Here you see that the "original" repair is almost desoldered.  I tried to free the white wire up some more, but could only get about another 1/4 inch freed up.  
I apologize that the wires are out of focus.   I'm an amateur.  I had about one half inch of wire.  It was not flexible and I had to use a hemostat to help me make the mechanical connection.

This is my whole set up:  At the bottom of the photo you can just see the hemostat holding the wire steady.  With the motor up on blocks I have plenty of room to get underneath the wires and solder.  I have the alligator clip there as a "heat sink" to keep the heat from traveling to the field core.  That is not an original idea.  I am following Rain's advice (http://vssmb.blogspot.com/
Again, sorry for the blurred photo.  Here it is after soldering:
 The black lead was easier for me.  I had more original wire and the mechanical connection was, therefore, easier to make.
I am surprised how easy the actual soldering is.  I guess I am now ready to solder the "good" motor.  After working with this one for the past few days, I see how much better that other one is.  Maybe one day I will have a running 201. 


Monday, December 26, 2011

Another 201

  I have decided to give up on this motor. It just requires TOO MUCH WORK.

  The armature is filthy with something yellow and sticky and I am guessing it is dried oil

I tried some denatured alcohol on a q tip and made it stickier.  I scrubbed some more and got it a bit cleaner.   You cannot really tell in this photo but the copper windings are darker and dirtier on the armature on the left.  Believe me, its true.

I have to give up.  I have shelves to paint and put up, a sewing loft to clean, a window treatment to make, dogs to walk, sewing machines to clean and repair, cabinets to refinish,  ipad covers to sew, sewing machines to use, sewing machines to sell, sewing machines to clean and oil and service.........

HOWEVER......

I do hope to use this motor to practice on.  I tried de-soldering today.  I removed a whole lot of excess solder and some electrical tape glue.  It was good practice to work inside the motor and pay attention to how the soldering iron is positioned.  You can see the broken original lead wire and how frayed the insulation is at the connection to the field core..  However, now you can actually see wire, instead of only solder.  This could have been a decent job if he/she had not gone crazy with the solder, had used shrink wrap and had been gentler with the connections. 

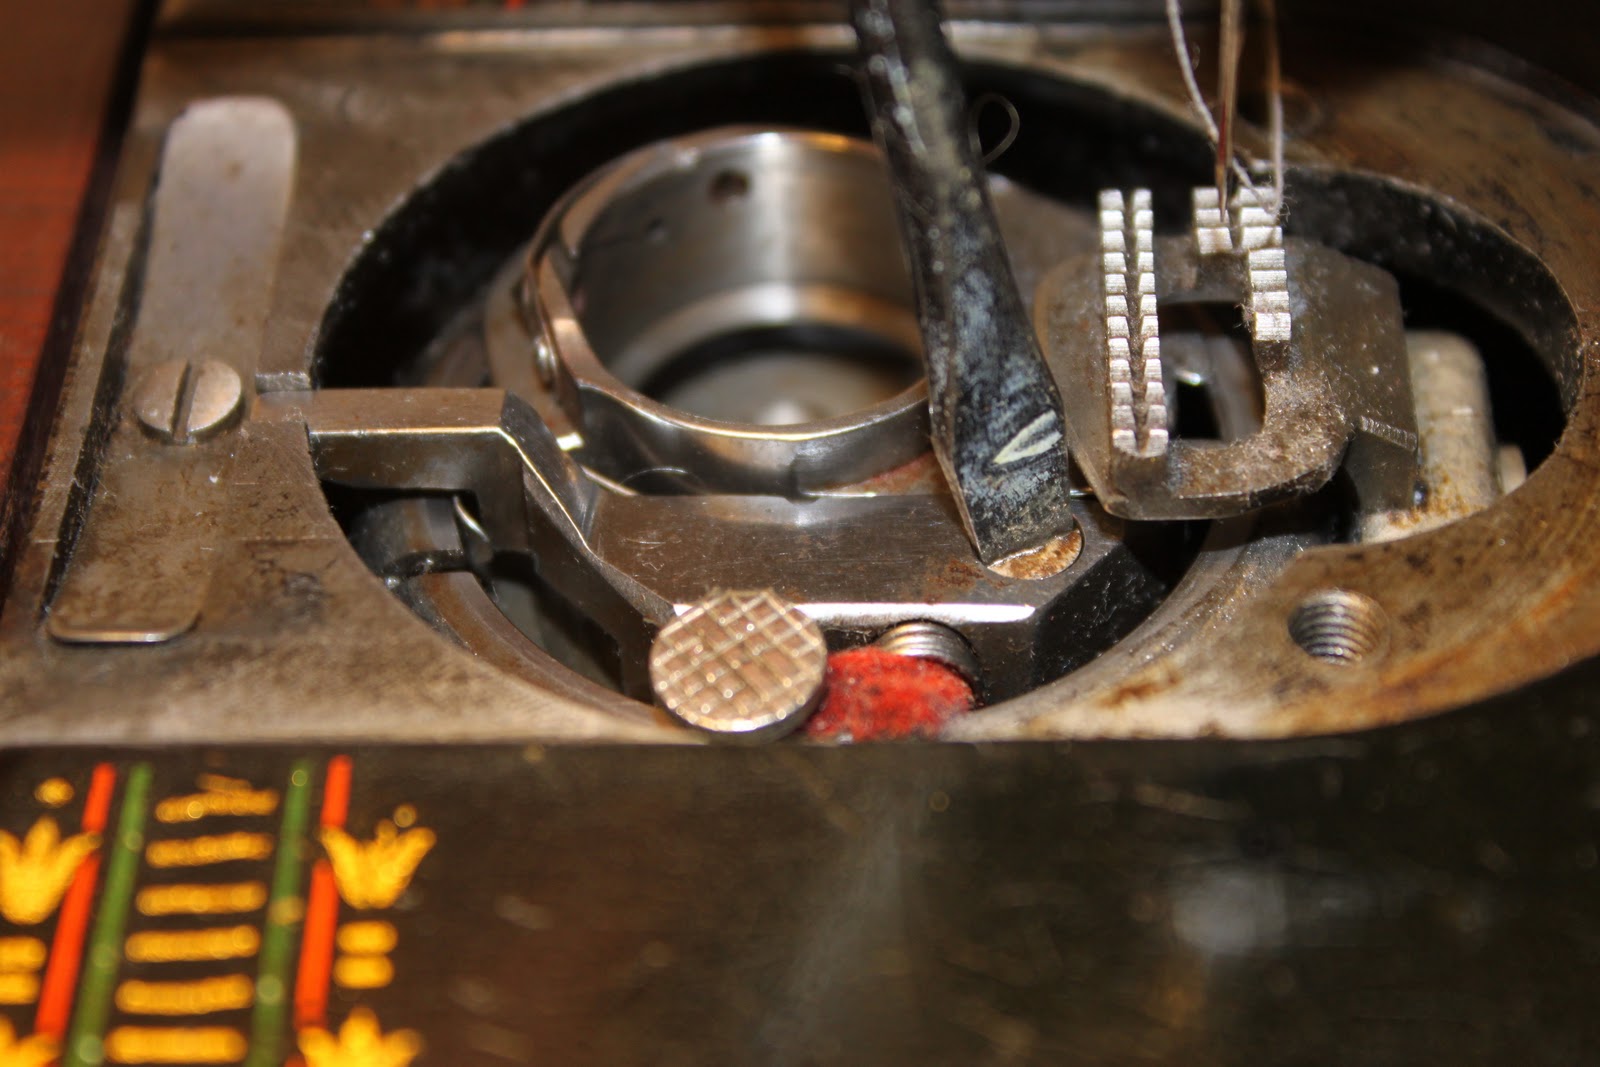
I also discovered that the electrical connection one of the brush tubes is fragmented. I had a bad feeling so I got out the magnifying glass and confirmed my fear.  I might try to re-solder that.  OH that would be tricky, now wouldn’t it?  If I knew how to use the Photo shop program i just bought I would circle the connection to which I refer; it is on the right side of the photo...pretty scarey, eh?

I practiced soldering after I  tried the de-soldering thing.

The mechanical connection is key:
And not too much solder, please.  I was a bit skimpy here:
Practice:


Practice:  I really like this one...
 Just the right amount of solder.

I had been having a lot of trouble getting the wire hot enough.  I finally got the honing stick out and cleaned the soldering iron and bingo, big difference.  I do like the size of my 25 watt Weller, but the Radio Shack iron gets the wire hotter, faster, now that it is clean......

So, what's next?  More practice in this old motor and then I will try to do a really fine job with the motor that has a decent armature, solid brush tube connections and relatively long original motor lead wires. 


One more thing..... I learned how to tie an underwriter knot today.  It is easier than you would think.

Check out Rain's blog for it.  You know  the Vintage Singer Sewing Machine Blog.  http://vssmb.blogspot.com/


Sunday, December 25, 2011

Another Singer 201

This past summer I drove to Balston Spa to fetch a Singer 201 in a number 42 cabinet.  That is another story.  It needs new wiring but the cabinet is so cool I didn’t care.  I already had a 201 that needed wiring so I figured I could do this one as well.  Since I was already 60 miles on my way to Granville, NY I figured I would drive the next 70 miles and look at a 201 up there.  I bought it.  The wiring looked good.  I was thrilled. 


There was no  goopy mess on the brass serial number plate which I took as a good sign.

Compare  it to the mess on the 201 I bought in Syracuse last winter.  Those dark stains on the serial number are from melted wire insulation.
Finally, I had a 201 that might run!!!!!!
I did not plug it in today. I decided to just clean it first.     I started with the motor because I wanted to follow Rain’s advice as posted in his wonderful tutorial   http://vssmb.blogspot.com

I had a hard time getting the hand wheel off.  Despite the fact that it should just pull off after loosening the set screw in the stop motion knob, it would not budge.  Thank goodness for Tri Flow.  I managed to free it up, finally, after some help from the persuader.  You can see the thick caked on grease that was gluing the hand wheel in place.
I was then able to remove the motor.  I was a bit concerned about the goop near the grease tube.  I told myself that it was probably excess grease and to stop worrying.

The lead wires looked pretty good but I did notice that the white one had some black sticky stuff on it.  The black one probably did as well, but I couldn’t see it.  I paid no attention to the fact that these wires were not housed in the black shrink wrap that indicates original wiring. 


I checked the brushes.  There is a bit of life left in them, but I know where I can buy new ones  http://shop.sew-classic.com/
 
I thought that I could just pull the armature, clean the commutator and pop the thing back together and get stitching.  When I pulled the motor housing off, I noticed that the insulation on the field core was a bit frayed.  I thought that this would be a good application for that liquid electrician’s tape that I had seen at the hardware store.
I hemmed and hawed, then, about whether I really needed to check the lead wire connections.  I decided to do it, what the heck.  The more experience I get with these motors, the better.
This is what I found: deteriorating electrical tape.
It was a mess.  I had to snip and snip and snip it away.  I finally got to the soldered joint and was so disappointed to see what a messy job had been done.


The black wire was worse but that lead has more original wire to work with.
We shall see what comes of this.  What do I have to lose?


Saturday, December 24, 2011

Singer 201

Steve and I went to Syracuse just after the first of this year to fetch a Kenmore 158.1760.  While there we picked up this 201:


I knew enough, then, to be able to identify this as a 201.  I did not know enough to leave it behind.  The wiring is a mess.  Originally I thought that someone had tried to fix a  crack in the body because of the goopy stuff running down the pillar onto the serial number plate.  Later I learned that this was liquified wire insulation.

Here you can see that the wires are bare.  The insulation succumbed to over oiling.  It liquified and seeped out of the motor onto the machine.  I am pretty lucky.  This looks bad but I believe that I can repair it.  I am following another blog (  http://vssmb.blogspot.com/ ) and Rain is posting a series of tutorials on how to re-wire this very motor


I have to wait for the post about actually soldering new leads to these existing bare wires.  I  thought I might get to some soldering today.  No go.  The wood stove in the shop smoked too much and I just could not work in there.  This motor is apart and I don't want to handle it anymore than I have to because I don't want the wires that connect to the motor brushes to break.

So I wait for the next tutorial.  I did clean the armature today, though

I also panicked a little.  In reading one of Rain's posts, he mentioned a fiber washer that lives on the shaft of the armature.  I never noticed it when I pulled the armature and I looked for it earlier today.  I thought it was gone.  I looked again and it was there.  WHEW.  It is a little bit of a thing.  See Rain's  blog (http://vssmb.blogspot.com/) for a better description and photo.


Tuesday, December 20, 2011

Bobbin case on older Singer 66

Earlier this week I posted a link on the Yahoo group WEFIXIT  to my blog post about how to remove the bobbin case on my Singer 66-16.  Bill Holman, a very knowledgeable and well respected OSMG, commented that folks with older Singer 66s would not be able to remove the bobbin case or position bracket based on those directions.

So tonight I photographed the bobbin case and position bracket  on Irene, my Singer 66 Red Head.  Here is how that bobbin case comes out.

You can see that the "finger" on this bracket  is much heftier than the one on the 66-16 and is not flexible at all.  See the screw in front of the feed dog?

You have to remove that to remove the position bracket to get out the bobbin case  on these older Singer 66s.

 There was a comment made, on the WEFIXIT , that it is not necessary to remove the feed dogs (cats) to remove the bobbin case.   I can see that is true from this photo.  Still it might make it easier, especially if the dogs (cats) are packed with lint or the bobbin case is particularly dirty. ( I don't think that is really rust on that screw, I think it is just dried oil...  oh the truth comes out with digital photography.)

Another thing to notice in this photo is the oil wick.  It is that piece of red felt that looks like lint.  I oil that with every bobbin change.  I use Tri Flow and I just confirmed (again on WFI) that this is an appropriate lubricant.

The screw driver I am using is authentic Vintage Singer, I believe.  It is authentic Vintage, for sure.  It came with one of my authentic Vintage machines and I see them for sale on eBay.  I am lucky that I have several that came "free" with my old machines.

Working on sewing machines makes me happy.  Sewing on this treadle makes me happy.  I wish my day job made me this happy. 

Monday, December 19, 2011

The Sewing Machine Museum

Wilcox and Gibbs; Howe (Singer Coffin Top); Wheeler and Wilson all in their garages

I am sorry that these machines are all tucked away.  Stay tuned for more posts on the museum progress.  We had to move some furniture so that there would be room for the Christmas Tree.  These machines ended up here and I took one look at that big, blank wall and thought to myself SHELVES.  


Steven is into it.  He even agreed to move some books from some shelves in the "museum" to house some machines.  The problem with the extant shelves, too short......  So here he is measuring to determine 1) Where the studs are and 2) how much room we have.  (7 feet).  I want to put shelves all the way to the ceiling.   He isn't too keen on that idea.  We just have to see how many we can fit.  I do have to be able to remove the tops, don't forget.

Maybe this will be my Holiday present.........along with the new Delonghi steam iron.....  


Sunday, December 18, 2011

A Christmas Story

 I love this night light.  My BFF in Arizona sent it to me and it arrived last week.  I laugh every time I look at it.  If you haven't seen the movie already, rent "A Christmas Story"  You will laugh.  I promise.

Class 15 Clone, contd


When I was working on Herald (The class 15 Clone) last week the knob would not release.  I thought that perhaps the stop motion washer was in backwards, so I changed it around.  Nope, that wasn't the problem.  So then I turned it 180 degrees.  Still no better.  So then I concluded that the shaft was gummed up.  Today I found out that that was not the case, either.  I took the handwheel off, again, and examined the shaft, it looked fine.  Then I examined the bushing.  It looked soiled so I cleaned and oiled it,  as I did the washer.  Still not much better.  So then I sanded the bushing with very fine emery cloth again and again and again.   Each time it felt a bit better until I finally declared it done when the handwheel spun smoothly when not constrained by the washer or the motor.  Every time I would put the belt on the handwheel and the motor and tried it by hand , the needle would go up and down when the clutch was released.     I gave up,  plugged the sucker in and, voila it worked.  Who knows what was going on.  As Ray White would say "Magic"

When I tested the machine last week it would  suddenly slow right down when I had it up to full power.  It does not do that now.  I think this machine will be a keeper.  I really like the cabinet, which, for the holidays, is in the upstairs bathroom.  I like the stitch and I have a feeling it will sail through many layers of quilted fabric.  If I ever get back to machine quilting, I will need a good strong machine like that.


My sewing loft does not look like this now, at all.  I wish it did.  I am itching to get back to quilting.  I have been having fun this year with the find, fetch and fix.  But the whole idea is to sew, right?  The problem, as Betsy points out, is that when I sew, I miss wrenching on the machines.  When I work on machines, I miss sewing.  It could be worse.  I could be bored.

Wednesday, December 14, 2011

The Vintage Singer Sewing Machine Blog: How to Re-wire a Potted Motor, Part 3: Learning to Solder

The Vintage Singer Sewing Machine Blog: How to Re-wire a Potted Motor, Part 3: Learning to Solder

Class 15 clone (contd)

About a year ago I trekked over to Schoharie to get this machine.  I bought it because I love the cabinet.  Today I replaced the check spring in the tension assembly.  Despite my recent education and subsequent certification, I am such a NOVICE.  I did not take photos first.  I put the spring in upside down.  Then I forgot to put in the tension release pin .  I now have lots of experience in this task.  The following photos are not the best, but you get the idea.  I finally got it right after the fourth time.  It worked after the third time I put it together but the tension release pin fell out when I took the face plate off.  I had put the pin in backwards so it had no chance of staying put.  I can't quit my day job, yet.

If you can tell in this fuzzy photo, the pin has a head on it.  That needs to be placed so that the head is inside the tension assembly.  You can put it in from behind but it won't stay.
tension release pin and tension assembly

Someone obviously has been mucking around with this set screw.  Honestly, I am not responsible for the condition of that screw. Not with my wonderful Brownell hollow ground bits.

to remove the tension assembly from the face plate, loosen this set screw.
In order to dis-assemble this you have to push in on the numbered dial to release the pin in the knob.
Once you have released the pin you can remove the knob totally (lefty loosie).
Take the pieces off one by one and lay them out in the order that you removed them  I did  not do that when I took these photos.  I was on the fourth attempt to get it right.....

The pin goes into the center of the tension assembly with the head inside of the assembly

To remove the check spring you must loosen this set screw.  The center pin comes out and the check spring is freed up.  Then you merely replace it with a new one.  Be sure that you have some spring and that the base of the spring is positioned at the top of the cut out.  Then tighten the set screw to hold the spring in place. ( I guess the check spring has been replaced before, more evidence of screw damage)
Next place the tension discs on the post.  I had to "hone" these discs; they were a bit rusty.  I used some fine emery cloth to shine them up.  Then I put just a drop of Tri-Flow on them.


This is a lousy photo, sorry.  Here you can see (maybe)that this next piece, a washer with "studs" is positioned so that the "studs" point out.

That is so that the spring housing can sit securely against them.
The spring goes next:


And then the stop washer.  I thought the projection on the stop washer should face outward. WRONG.  It faces inward.

Place the numbered piece next with the zero just on top of the projection on the stop washer.  You can see a small "stop" inside the numbered piece; line that up with the stop washer projection.

Now you have to pinch all of this together, just as you did to loosen the knob, to replace the knob.  Once the knob is threaded you can fine tune the positioning of it and then put the whole assembly back into the face plate and adjust the tension.
The machine makes a fairly nice stitch.  I need to do some more maintenance.  The brushes look pretty good but one would not come out at all.  So I guess I had better gear up to take the motor apart.  I think, though, that I will tuck this machine back in its cabinet and work on the 201 motor.  For more on re-wiring those types of motors go to http://vssmb.blogspot.com/