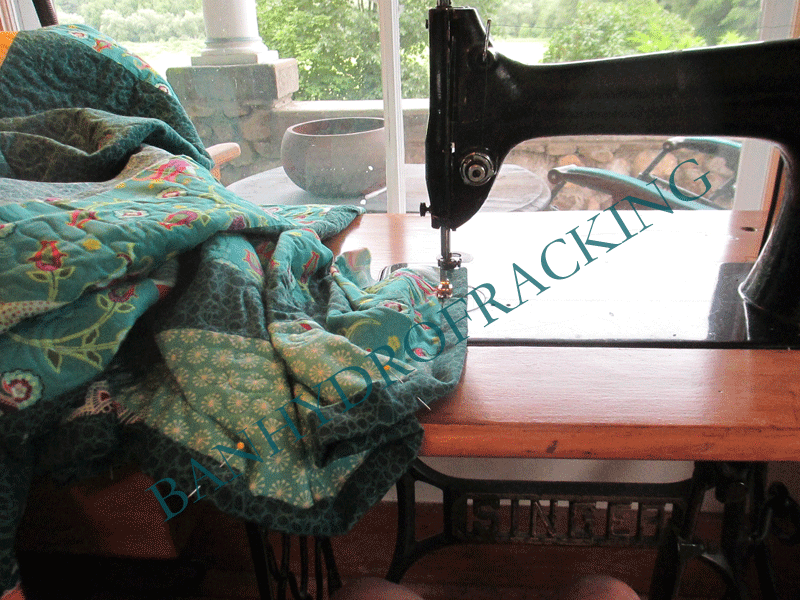
I have a mid arm quilting machine. It is home grown with foreign parts, I believe. I bought it in 2010 with the intent of learning more about machine quilting. I got a deal on the frame and I splurged on the machine. What the heck, it was built near my home town and I am a sucker for nostalgia.

My sewing loft is not heated and this machine lives there. I could bring it in the house, but I don't really have a place for it in here. I thought that I would insultate the floor of the loft really really well and then have an electirc heater hardwired to the circut breaker and just keep the loft at 50. Steven said the Barn is not built to code and it would be very inefficient to heat it with electricity because we could never get it insulated well enough. I don't want to waste energy. I can't keep a wood fire going all the time, either. The little Jotul puts out a goodly amount of heat but it requires stoking every few hours. Can't do that. So, I thought, why not build a little box that sits over the Bailey, like a coffin top? Then I could stick a light bulb in there and keep it warm that way. We have used a light bulb under the floor boards in an old house to keep the pipes from freezing. Heck we still stick a work light under the washer when it gets to sub zero. Should work, right?
I had imagined a nice plywood box. Steven suggested using rigid foam insulation and gorilla tape. He even bought me the foam and showed me how to use his sheet rock square. Clearly the guy did not want to build me a plywood box. I was willing to build it, but the table saw scares me and I would need to purchase the plywood, rip it down, brace the corners, screw it and glue it and mount the lamp socket. So, while I initially resisted the idea of the rigid foam insulation, I set to work on this project today.
The idea is to score the cut with the utility knife and then go back, cut deeper and then cut the foil from the opposite side. I wasn't so good at that. Practice will improve my technique, I am sure.
I cut three pieces 16 X 32. (32 X 3 =96 which is aka 8 feet.) I had no waste from that calculation. The ends I cut 14 by 16 so that they could fit inside the sides and top. I cut a 32 inch long piece 14 inches wide from the remaining 32 inch wide foam board. Then I cut that piece in half. No waste there either. I now have a a piece of rigid foam insulation that is 32 inches wide by 82 inches long left over for another project. It appears that I know what I am doing wrt layout and piecing. Not so. Steven figured that whole thing out for me.
Then I taped the whole thing together with gorilla tape and duct tape.
I wanted the light bulb mounted on the side of the box. That way it would not touch any part of the machine. I had bought a lamp socket at the hardware store and used it as the marker for the hole.
Then I used a very narrow knife to cut out the hole so that the lamp socket would fit. I originally bought a nifty socket that would plug directly into an extension cord.
But when I tried it out, the bulb was too close to the foil and it got too hot. So I wired up the lamp socket and it works quite nicely..
These next photos I took with the camera on self timer from inside of the box. The light bulb is no where near the machine.
At first I used a 40 watt incandescent bulb.
But it got way too hot. So then I tried a 20 watt low energy bulb. Still too warm. The lowest wattage that I had was 13 watts. I checked it after dinner and Steven approved. Temperature inside the box 70 degrees.
I am a bit concerned that the mice might like it in there. I did not do a great job cutting the end pieces and had to trim after the box was together. I trimmed too much and there is room for the little vermin to crawl under there and warm up. Fine, just don't shit on my machine..... No building nests, no taking up residence. Just get warmed up a bit. Then leave...
I just checked it again. 68 degrees. No mice...